How to verify a target host
# Why we require host verification
Loader will only run load tests against hosts that have been vetted through our automated host verification process. This protects our systems from being used as a denial of service tool to attack websites that are not intentionally running load tests.
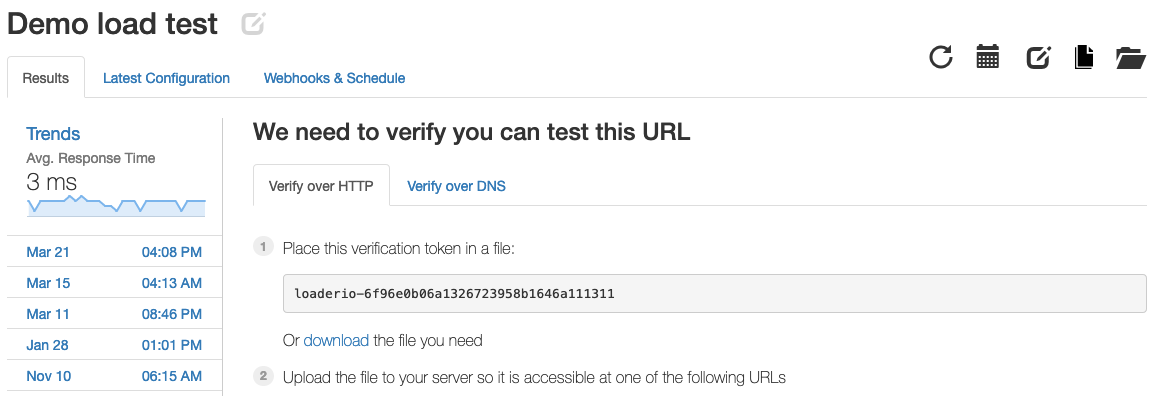
Loader’s automated host verification checks run before every test execution. If the verification token for a host is removed or can’t be accessed, tests will no longer run on that host.
# How to verify your target host
# Overview
When you register a host with Loader, we generate a token that is unique for that host and your account. To verify the host, one of the URLs based on this generated token must return the token value.
Loader’s verification system supports both HTTPS and plain HTTP targets.
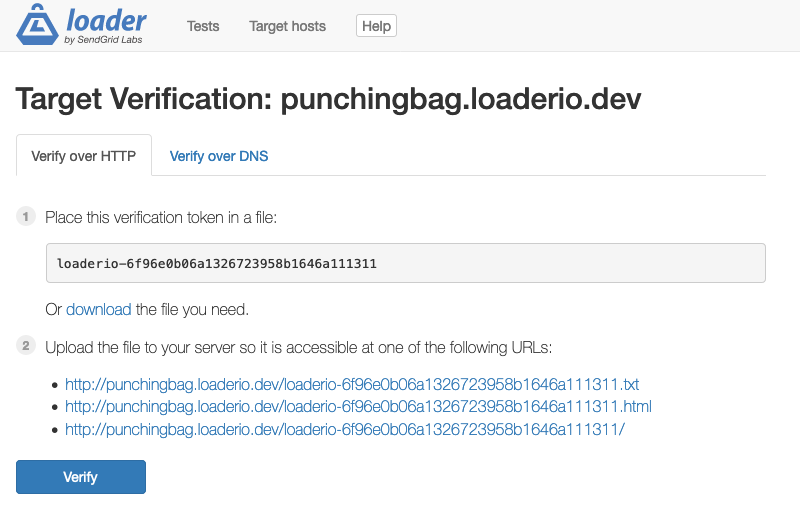
For example, after adding the host punchingbag.loaderio.dev as a target, Loader generated the unique token loaderio-6f96e0b06a1326723958b1646a111311. If another person adds the same host to their account, Loader will generate a different token.
To verify this host, we need to make the URL https://punchingbag.loaderio.dev/loaderio-6f96e0b06a1326723958b1646a111311.txt (or one of the other listed options) respond with the token text.
# Setting up a target host
- Click on the “New Host” button from the target host page of your Loader account
- Enter the hostname or IP address of the target you plan to test
- Create a text file with the generated token
export TOKEN=loaderio-6f96e0b06a1326723958b1646a111311
echo ${TOKEN} > ${TOKEN}.txt
- Place the file to the document root of the server. This may be a path such as
/var/www/publicbut the specific location can vary depending on configuration - Test the verification link using an “incognito” or “private” browsing mode to ensure the host is not requiring a logged in session or any other credentials for the verification file
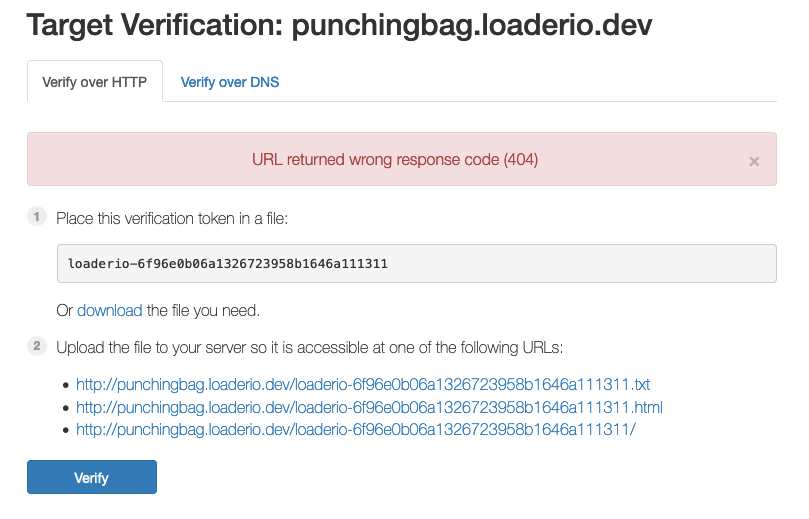
This is what a failing verification looks like; the token has not been uploaded correctly:
$ curl https://punchingbag.loaderio.dev/loaderio-6f96e0b06a1326723958b1646a111311.txt
Not found
A successful verification should look like this:
$ curl https://punchingbag.loaderio.dev/loaderio-6f96e0b06a1326723958b1646a111311.txt
loaderio-6f96e0b06a1326723958b1646a111311
See common hosting systems below for information about finding the correct location for the verification file, or verifying a host without a file.
# Troubleshooting
# Wrong status code
The server should respond with a
200 OK status code! If Loader’s verification bots see any other status code from the server, verification will fail.
Common causes for the wrong status code include:
-
The verification file is not in the correct location (status code 404)
-
Filesystem permissions on the file do not allow the server software to read the file
-
Network level filtering on the server disallows certain IP addresses (or only allows clients from specific IPs or IP ranges). You will need to allow Loader’s IP addresses to connect to the target system
-
User-Agent based filters sometimes block clients that self-identify as “bots”. Loader sends the
User-Agentheaderloaderio;verification-botduring the verification processTo check whether this kind of filter is enabled on your target host, use a command-line client to send a “bot” header:
curl --header "User-Agent: loaderio;verification-bot" \
   https://punchingbag.loaderio.dev/loaderio-6f96e0b06a1326723958b1646a111311.txt
- The server requires credentials or a logged-in session. Make sure the verification URL is available without signing in or providing other credentials
# Token not found
If the verification URL returns a 200 OK status, but the content is not the expected token, Loader will tell you “the verification URL exists, but the token was not found”. This can happen if the server returns an HTML page or if the token is embedded within an HTML page template.
Make sure that the verification URL returns only the text of the verification token, is not embedded within an HTML page, and that the token matches the one generated by Loader.
# Verification Loops
Loader runs the verification process before each test execution. If verification fails, Loader will display a prompt to check the verification file, and ask you to verify the host again. When this happens repeatedly, we call it a “verification loop”, and it can be frustrating!
If you find yourself in a verification loop, it most likely means that the verification check is “flapping” or not reliably passing. Here are a few things to check:
- Make sure the verification file is still in place
- If using a load balancer or reverse proxy with multiple backend servers, make sure the token is either installed at the load balancer itself, or on each of the backend servers
- Consult any monitoring and observability data you have to be sure the server is not overloaded; sometimes after a load test that stresses the server, verification checks can fail due to timeouts
- For DNS verification, check whether old DNS records have expired; you may need to wait a few minutes, depending on the TTL
# DNS Verification
DNS record based verification is available for Loader. Loader’s DNS verification system looks for TXT records in the DNS entries for a given hostname. However, this can conflict with existing CNAME records for the same host name. To resolve this conflict, Loader starts with the hostname with a prefix of _loaderio during verification. Create the verification DNS record with this prefix.
dig +short TXT _loaderio.punchingbag.loaderio.dev
# Common hosting systems
# WordPress
If you are using WordPress with a reverse proxy such as nginx or httpd, it may be easier to add the verification token using a configuration entry in the proxy (see instructions below).
To add the verification token as a page in a WordPress site, you will need to create a page template that renders the content of a page with no surrounding HTML or other layout. Add a template like this to the WordPress theme on the site you wish to verify:
|
|
# nginx
# Static file in a root directory
If your nginx site already serves static content at the root path, you can place the token file in the document
root directory. Look for the directory specified by a root directive in the nginx configuration for the site. In the example configuration below, the verification file can be placed in the /var/www/public directory on the server. Note that the server’s root directory is different from the filesystem root directory!
|
|
A configuration can have more than one root directive, so consult the nginx documentation
root directory and look for the one that will apply to the server you are verifying.
# Dedicated verification token directory
If you prefer to store verification token file(s) in a location separate from other static content, use a location block that matches the verification path, as in the example below. You can use any directory that the nginx process is able to read files from:
|
|
# Verification location block
You don’t have to serve the verification token from a file. For setups where nginx is running in a container or doesn’t serve static content at all, you can use a location block to verify the host directly without requiring a file.
|
|
# Other servers
We’ve covered just a few of the servers we commonly get questions about here, but there are many options out there for server software! Most have similar configuration options available for hosting static files in a “document root” directory, routing requests to a specific directory based on the path, or rendering a plain text response from a template or based on pattern matching. Check the documentation for the server you are using for how to find the document root or configure this kind of routing.